

I found several abandoned headbands in my daughters drawer and wanted to give them new life. Some had frayed and the fabric came off, others had their ends chewed by a dog, and some were just outdated. You can take the old fabric off so that you have a plain plastic headband to work with, get some felt, hot glue, and scissors, and you are ready to make your felt flower headband in time for spring.
Disclaimer: this post may contain affiliate links, which means if you click the link and make a purchase, I receive a small commission, at no additional cost to you!

Supplies needed:
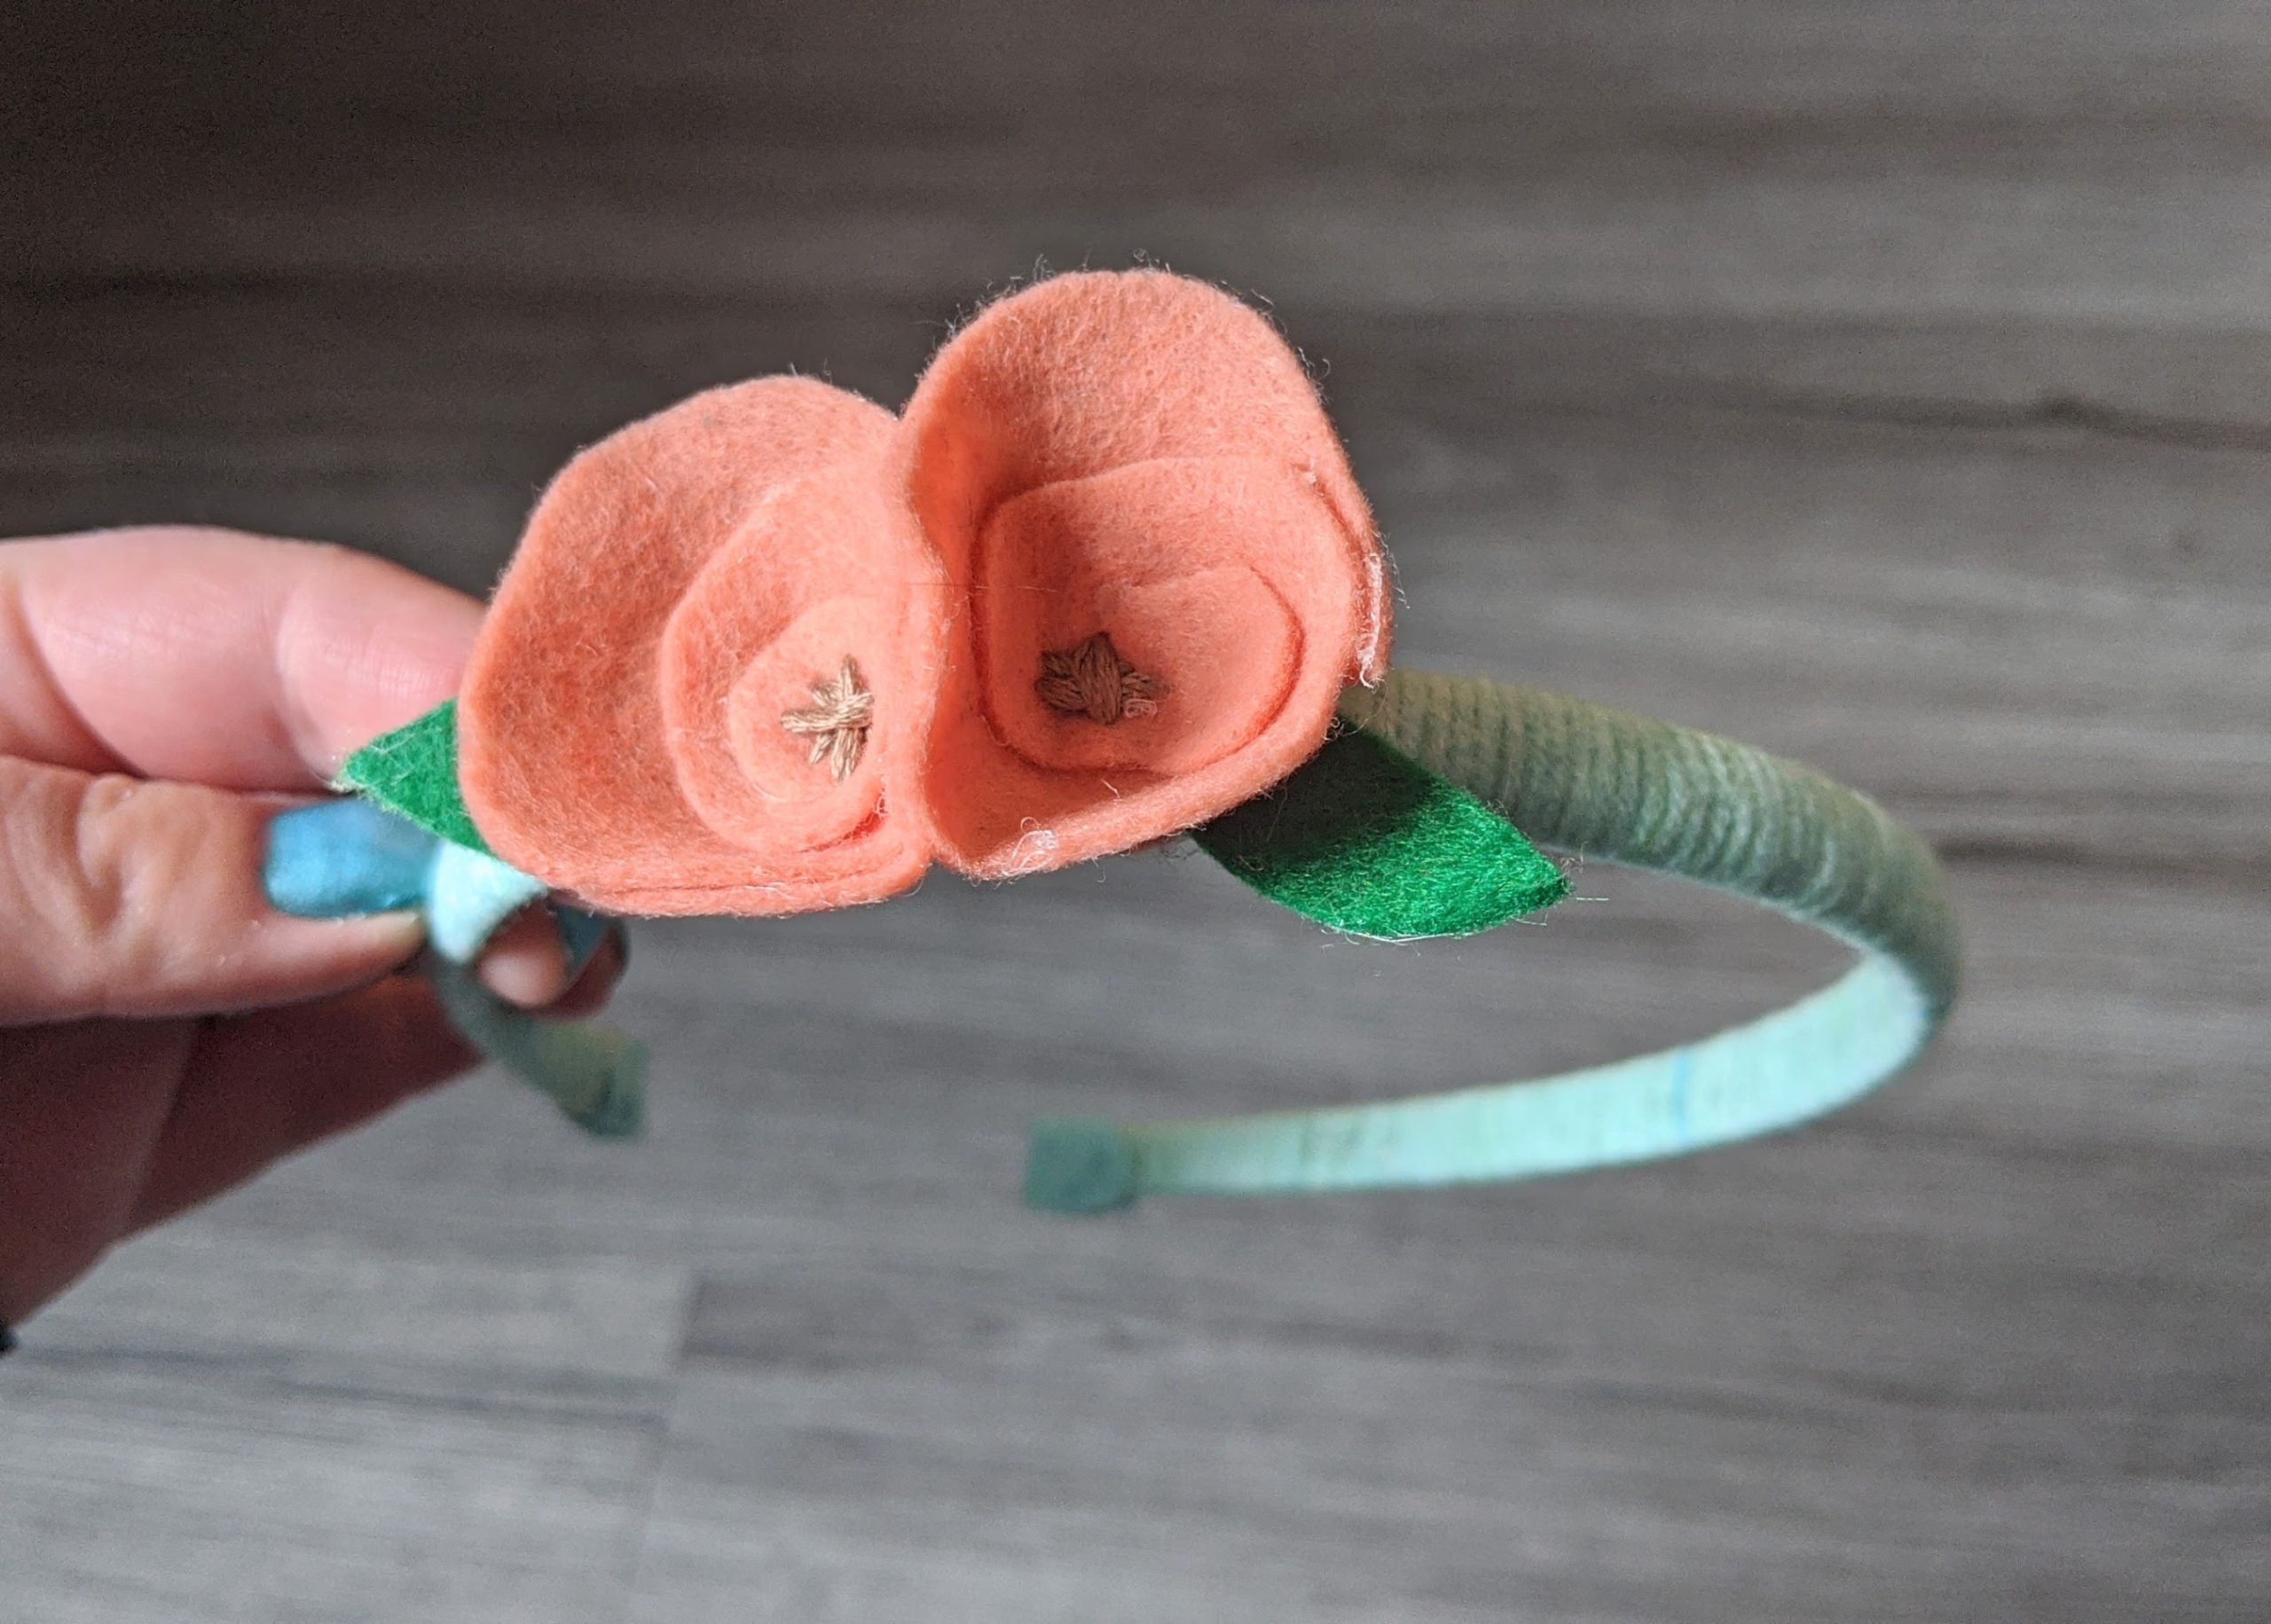
- Felt sheets – any color you want. I used a coral shade for my flowers and green for the leaves. Here is a bundle of various colors.
- Yarn – to wrap the headband – also any color of your choosing. The brand I had was Yarn Bee from Hobby Lobby.
- Hot glue gun
- scissors
- embroidery thread and needle (optional)

2. Hold down the tail of the yarn and start wrapping around it, pinning the tail to the headband.
3. The tail will eventually get covered by the wrapped yarn. This will help keep the yarn in place.
4. Keep wrapping yarn all the way around the headband. Every once in a while, I stopped to put a dot of hot glue on the headband to make sure the yarn stays in place. Wrap and tie the end and cut off the tail as close as you can.

Fold them over each end with a little bit of hot glue.
This will keep the end of the yarn in place and keep it from unraveling. It also makes the ends softer so that they don’t get snagged in hair.


Cut in a spiral, starting from the outside edge and ending in the middle of the circle.
Cut out two leaf shapes from the green felt to fit with your flowers.
Starting from the middle, loosely roll the spiral into the shape of a flower, putting dabs of glue where needed to keep it in place.

You can also hot glue a bead or several tiny beads as your flower center.
At this point I also cut circles out of the same color felt as my flowers to cover up the back and help keep the leaf in place, as well as make it easier to glue down onto the headband.


