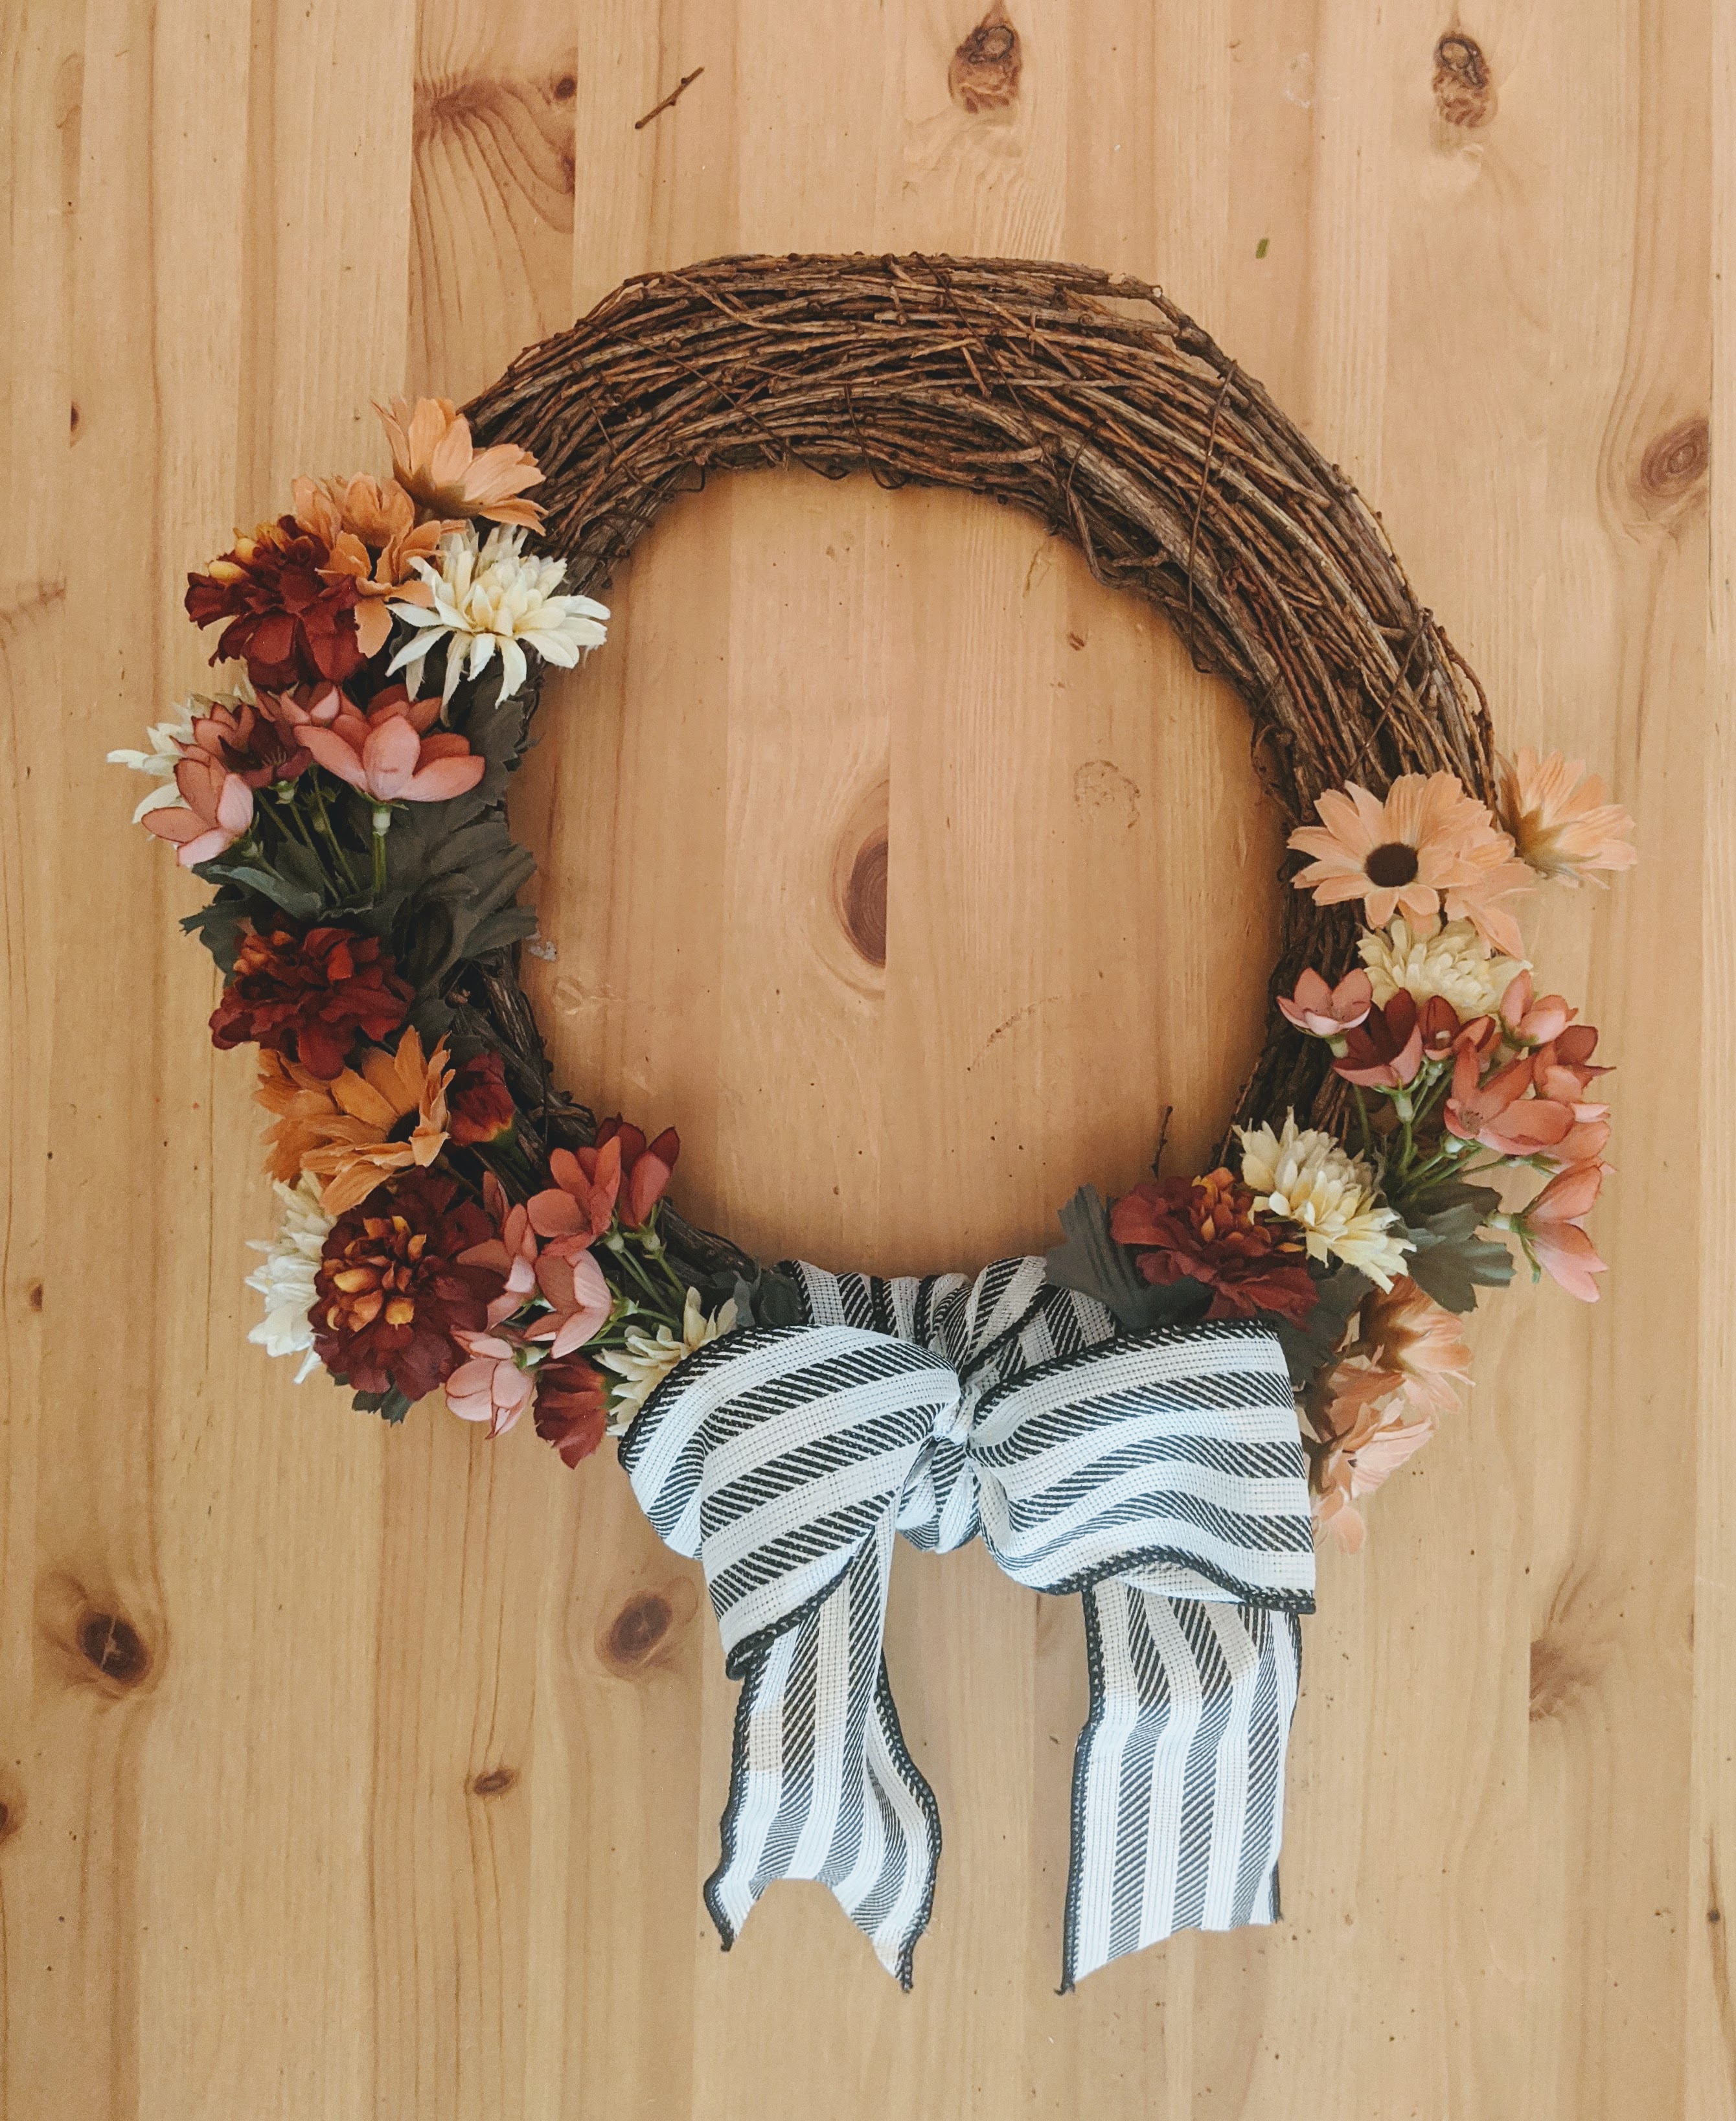
We have had some cooler mornings here in Indiana and it really makes it feel like fall, even though the temperatures climb back up to the 80’s in the afternoon. Surely, summer temperatures aren’t completely over yet. Nonetheless, fall decorating has begun, and I am trying to slowly bring in the fall home decor, while hanging on to the last days of summer. One simple decoration that instantly makes it feel like the fall season is coming is a fall wreath on the front door!
This autumn wreath was so easy, I was able to throw it together in about 20 minutes. No hot glue is needed. The only supplies needed are the grapevine wreath base, some vintage flowers, wire cutters, and a ribbon.
Quick overview of my supplies:
- Grapevine wreath base – something like this
- Vintage silk flowers – look around at garage sales or thrift stores
- wire cutters like these
- Ribbon for the bow – I found my ribbon at Walmart last year. There’s so many options!
The great thing about the grapevine wreath is that it is held together by either strands of twigs or sometimes wire. Mine was wrapped in a thin wire and that helped keep the flowers in place.
Steps:
First, gather your supplies and lay out the flowers yo are going to use. Next, decided which flowers you want to start with and cut the flower stem to be long enough to tuck into the wreath twigs. I only cut the flowers as I needed them so I can keep the extras together in a bunch instead of loose pieces all over the place.


Next, tuck your flower stem in between the twigs or behind the wire that holds the whole wreath together. As long as the stem is long enough, you should not need to glue anything down or use any extra wire. Tee grapevine twigs will hold the flowers in place. Leave some leaves on the stems as a fill between the flowers. You can also completely take any extra leaves off if you don’t like the look of the leaves.
Side Note:
I feel like it is hard to come by good quality silk flowers. I’m not a fan of bright, fake colored looking flowers. I’m kind of picky. Once in a while, I’ll come across some good quality silk flowers at the thrift store. It’s always such a fun find! Craft stores do carry good quality flowers, but I’m usually on a budget, so I only go there for specific projects. The flowers I used were from a friend who had them laying around in her garage for years, which is why I call them vintage. I was able to pick through and find ones that weren’t too cheesy and fake looking. Again, I’m kind of particular!

Keep cutting flowers and weaving them into the wreath. Place the flowers so they overlap each other. I filled the wreath halfway up one side, left a small space at the middle bottom, and continued placing flowers going up the other side. I left it asymmetrical, but the amount of flowers you use is up to you! The space in the middle is where the ribbon is going to go. You can also fill the whole wreath with flowers all the way around and not even use a bow. The possibilities are endless!

When adding the bow, wrap the ribbon around the wreath to cover the spot where there are no flowers. Tie a bow and cut the ends of the ribbon. I have a large stock pile of ribbon because I can’t help grabbing some rolls whenever I’m at a craft store. Match the ribbon with the color of your flowers or add interest by going with a contrasting color.


Finishing up!
After the flowers are in place and the bow is attached, the wreath is ready to hang! Mine is hung using a Command clip. I didn’t add any wire for hanging. It is just attached by one of the twigs wrapped around it. I also like the look of wreath hangers that go over the door. However, all the ones I’ve used have left scratches on my door frame. Check out the finished piece! Let me know what is one of the first fall decorations you put up!


Thank you for your fun tutorial on making a Fall wreath.
I love your use of recycled flowers! I also love the striped ribbon.
Donna
I love a good DIY, and this wreath is right up my alley Loving the flowers you choose, and the bow turned out super cute!
Great for getting me in the mood for cooler weather and warmer drinks!
Love the tutorial – easy to understand, and great photographs of details. 🙂
Looks beautiful!
I wish that I had seen this post two days earlier, as I just ordered a fall wreath for my door. I could have made one for myself! Do you plan on making Holiday wreaths? I would love some inspiration for that as well! Wreaths have always seemed so intimidating, but your post makes it look attainable. Thank you.