

My boys loved watching me make these easy cardboard shields for them the other day and couldn’t wait for the paint to dry so that they could play with them. This idea came when we saw a Captain America shield at the dollar spot in Target, but there was only one, so in order to avoid fights, I decided we could just make some with cardboard we had laying around.
This post contains affiliate links, which means I get a small commission if you purchase the product through my link. This is at no additional cost to you.
First lets take a look at the supplies I needed-
- Piece of cardboard, big enough to make a 12 inch shield
- Something circular to use as a stencil
- Marker/pencil
- Hot glue
- Red, white, and blue paint (click on color to purchase)
- Paint brush
- Star stencil (optional)

Tracing and Cutting

I used a box from diapers I still had laying around the house and looked around for something round I could use to trace for the shape of the shield. I found this Pyrex lid, which is about 12 inches in diameter and it turned out to be perfect. Other ideas to use for tracing could be a big bowl, top or bottom of a bucket, the lid from a pot, etc. There are so many options around the house!


Next, I cut out the circle shapes. Cutting through the cardboard was a little bit rough, especially a circle shape. I wish I would have had my box cutter, but I couldn’t find it so I used scissors. I cut out a strip of cardboard to use as the handle on the back. Cut it just a bit longer than the shield itself.
Painting!

Then I painted! I undoubtedly love Crayola washable paints! Seriously, so easy to wipe up and, more importantly, I have never had a problem washing it out of clothes.
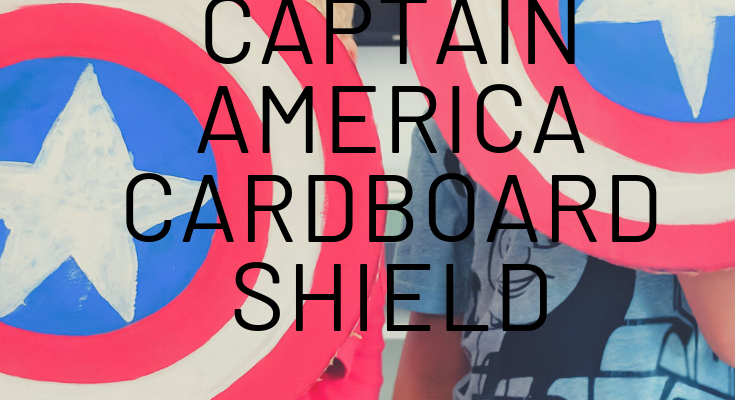
I looked up a picture of the Captain America shield and painted a strip at a time. It starts out with red around the edge, then white, then red again, and finally blue in the middle with a white star.
**I painted on the cardboard side with no pictures, since my box used to be a diaper box. If you want to cover up any pictures on your cardboard, you may need to paint several layers of paint, or use thicker paint, such as acrylic. However, it should be noted that acrylic is definitely not as washable (its pretty permanent on clothes), so be cautious if you go that route.


I hand painted the star in the middle because my boys were getting too anxious to play and I couldn’t find my star stencil. (And, unlike me, they clearly don’t care about perfection – which is great!) If you have a stencil that’s the right size, awesome! An easy way to make a stencil is to just print off an outline of a star (adjust to the right size), cut it out and trace it!
Finishing Touch

Glue the extra strip of cardboard on the back to act as a handle strap. Make sure it pops up enough so that a little hand can fit through and hold it.

I ended up having to glue the strip down even more towards the middle because it was too loose for my three year old and four year old’s arms.


They played with these non-stop for days. Even took them in the car, grocery shopping and doctor visits! Now my four year old wants to be Captain America for Halloween and we already have the shield!
My kids were playing outside this morning, pretending to be avengers and when my 3 yr old said he need a captain America shield I took advantage of that moment as suggested to go make one inside and luckily for me they said yes (it was getting way to hot, lol) I found yours and it was awesome! They had so much fun painting it and although mama had to do some painting. They can’t wait to play with them after nap time.